How To Use Heatmap?
First of all, we strongly recommend that you view the heatmap under the Chrome browser. Centcount Analytics not only provides an intuitive click heatmap, but also provides a wealth of data filtering functions. Next, we will specifically understand the functions of the heatmap of the Centcount Analytics.
A. Data Filtering & Keyboard Shortcuts
a. The Centcount Analytics provides 10 kinds of data filtering results for users to choose. You can select the shortcut keys 0~9 or click the control panel button  to switch back and forth. The filtering data is as follows:
- Only the click data of the element containing the href attribute is displayed. (Key 1)
- Only the click data of the element containing the onclick event is displayed. (Key 2)
- Only the click data by clicking the Submit button with the Submit attribute is displayed. (Key 3)
- Only the click data submitted by pressing the Enter key is displayed. Pressing the Enter key will not actually click, so we will simulate the Enter key as a click data to display the form submission more intuitively. The click location will also fall on the last Input element before the form is submitted. (Key 4)
- Display all the click data of all forms, including the click data submitted by clicking Submit button and the simulated click data submitted by pressing Enter key. (Key 5)
- Only the click data of the video element is displayed. (Key 6)
- Only the click data of the iframe element is displayed, which is generally used to view the AD click data of the page, but the data is not 100% accurate and is only used as reference data. (Key 7)
- Only invalid click data is displayed. Invalid clicks are clicks that the click element contains neither the href attribute nor the onclick event, and no page behavior. (Key 8)
- Only display unrecognized click data, some page elements may be temporarily changed, or the layout of the web page on the mobile end and the PC side are inconsistent, such as 2 sets of template pages, or non-responsive pages, then clicks on these elements may cause Positioning, in this case we can only locate by the absolute position of the visitor's click, this data is for reference only. (Key 9)
- Show all click data. (Key 0)
b. The above data is distinguished and filtered according to the attributes and events of the elements. Only this can not fully meet our need for data filtering, so we added another 9 filtering switches to ensure that the data meets your demanding requirements. The filter switch is as follows:
- Invalid click filter switch, to filter invalid click data. (Enabled by default, Key Q, or the control panel button
 )
)
- Hidden click filter switch, what is hidden click? Some page elements are dynamically displayed via scripts or CSS, such as menus and popup layers. How do I view their exact click location? Switch the heatmap to layer view mode, move the mouse to the menu or click on the popup layer, then press the Shift key to refresh the data. For display of normal click data, we enable this filtering by default. (Enabled by default, Key W, or the control panel button
 )
)
- Repeating click filter switch, to filter the repeated click data. What is a repeated click? A repeated click is a click that a visitor clicks on a page element more than twice in a row, including double click. The data displayed after filtering is the unique click data of the unique visitor. (Enabled by default, Key E, or the control panel button
 )
)
- The unrecognized click filter switch, to filter the unrecognized click data. (Enabled by default, Key R, or the control panel button
 )
)
- The time period data selector displays the click data in the selected time period by setting the start time and the end time. (Default time period 00:00 - 23:59, control panel button
 )
)
- The data matching mode switch. What are the roles of exact mode and compatible mode? For example, your single page contains multiple languages. When you switch languages, the text displayed on the page will change, but the page layout and structure are unchanged. When using the compatible mode, we can ignore the impact of page text changes. Show click data for all languages. Of course, most pages are not this design, but we still recommend that you use compatible mode. (Default compatible mode, Key T, or control panel button
 )
)
- The click data of PC device filter switch, this switch can filter the click data of the PC device. (The display is enabled by default, Key A, or the control panel button
 )
)
- The click data of mobile device filter switch, this switch can filter the click data of the mobile device. (The display is enabled by default, Key S, or the control panel button
 )
)
- The click data of tablet device filter switch, this switch can filter the click data of the tablet device. (The display is enabled by default, Key D, or the control panel button
 )
)
c. In addition to the above data filtering features, we also provide the following 4 accessibility features to better present the data view:
- By raising the area click density base and re-rendering the heatmap color depth to show the high hotspot area of the page. (Key +, or control panel button
 )
)
- By lowering the area click density base, the heatmap color depth is re-rendered to show the low hotspot area of the page. (Key -, or control panel button
 )
)
- Manually refresh the data and heatmap after the asynchronous data loading is complete. (Key Shift, or control panel button
 )
)
- View the click data of the parent element of the current element in layer view mode. (Key Ctrl)
d. The 3 function shortcuts of the Centcount Analytics:
- Turn off the heatmap mode. (Key Delete, or control panel button
 )
)
- Panel window control button. The button has 2 functions: 1. To switch control panel window between minimizing and maximizing, 2. Drag the control panel window position. (Key ESC, or control panel button
 )
)
- A prompt to display keyboard shortcuts. (Key F2)
- Visit help page for more help. (Key H)
e. Note: The Centcount Analytics is a very useful feature of other analysis tools. Once the Centcount Analytics opens the heatmap, the browser will remember the current heatmap mode. The advantage is when you want to view the heatmap of other linked pages on the current page, you can open and view them directly, without having to go back to the Centcount Analytics background to open the link. How to operate specifically? Press the shortcut key Tab or the control panel button  to enter the layer view mode, click on the link you want to view, is it very convenient?
At this point, the heatmap of the Centcount Analytics can basically meet most of the requirements. Our default setting is to display all valid clicks, form clicks, video element clicks and iframe element clicks on the page, and other clicks are filtered out. Of course, you can also achieve the results you want through a variety of combinations. Centurion statistics will be done in the future through the source channels, keywords and other dimensions to filter data, please look forward to!
B. View Mode
The Centcount Analytics heatmap provides 2 data view modes:
- Heatmap View Mode (default)
- Layer View Mode
You can use the shortcut key Tab to switch between heatmap view mode and layer view mode, or by clicking the button on the control panel. At the same time, you can use the mouse to select the click area of the selected area in the heatmap view mode, or press the shortcut key Ctrl key in the layer view mode to view the clicks in the parent element. The effect is as follows:
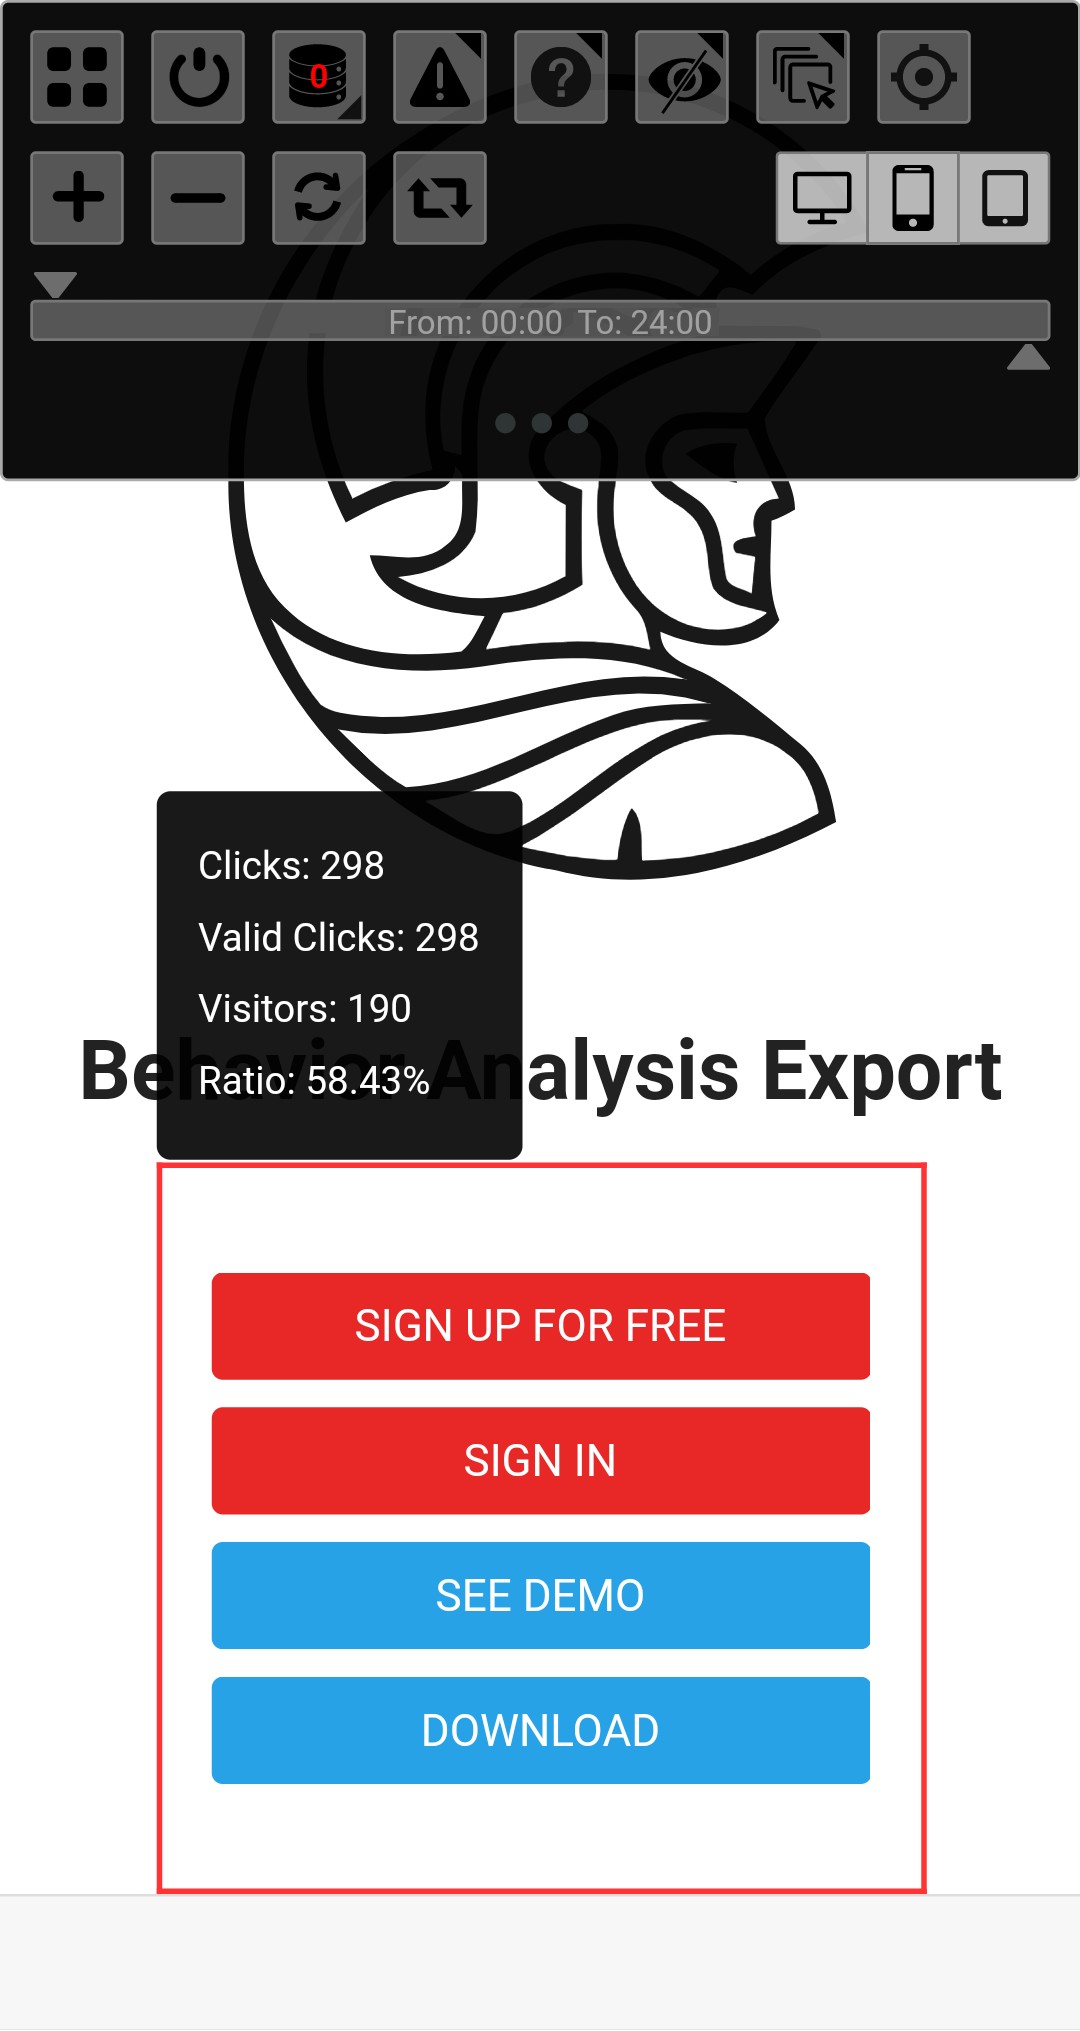
Heatmap View Mode (default)
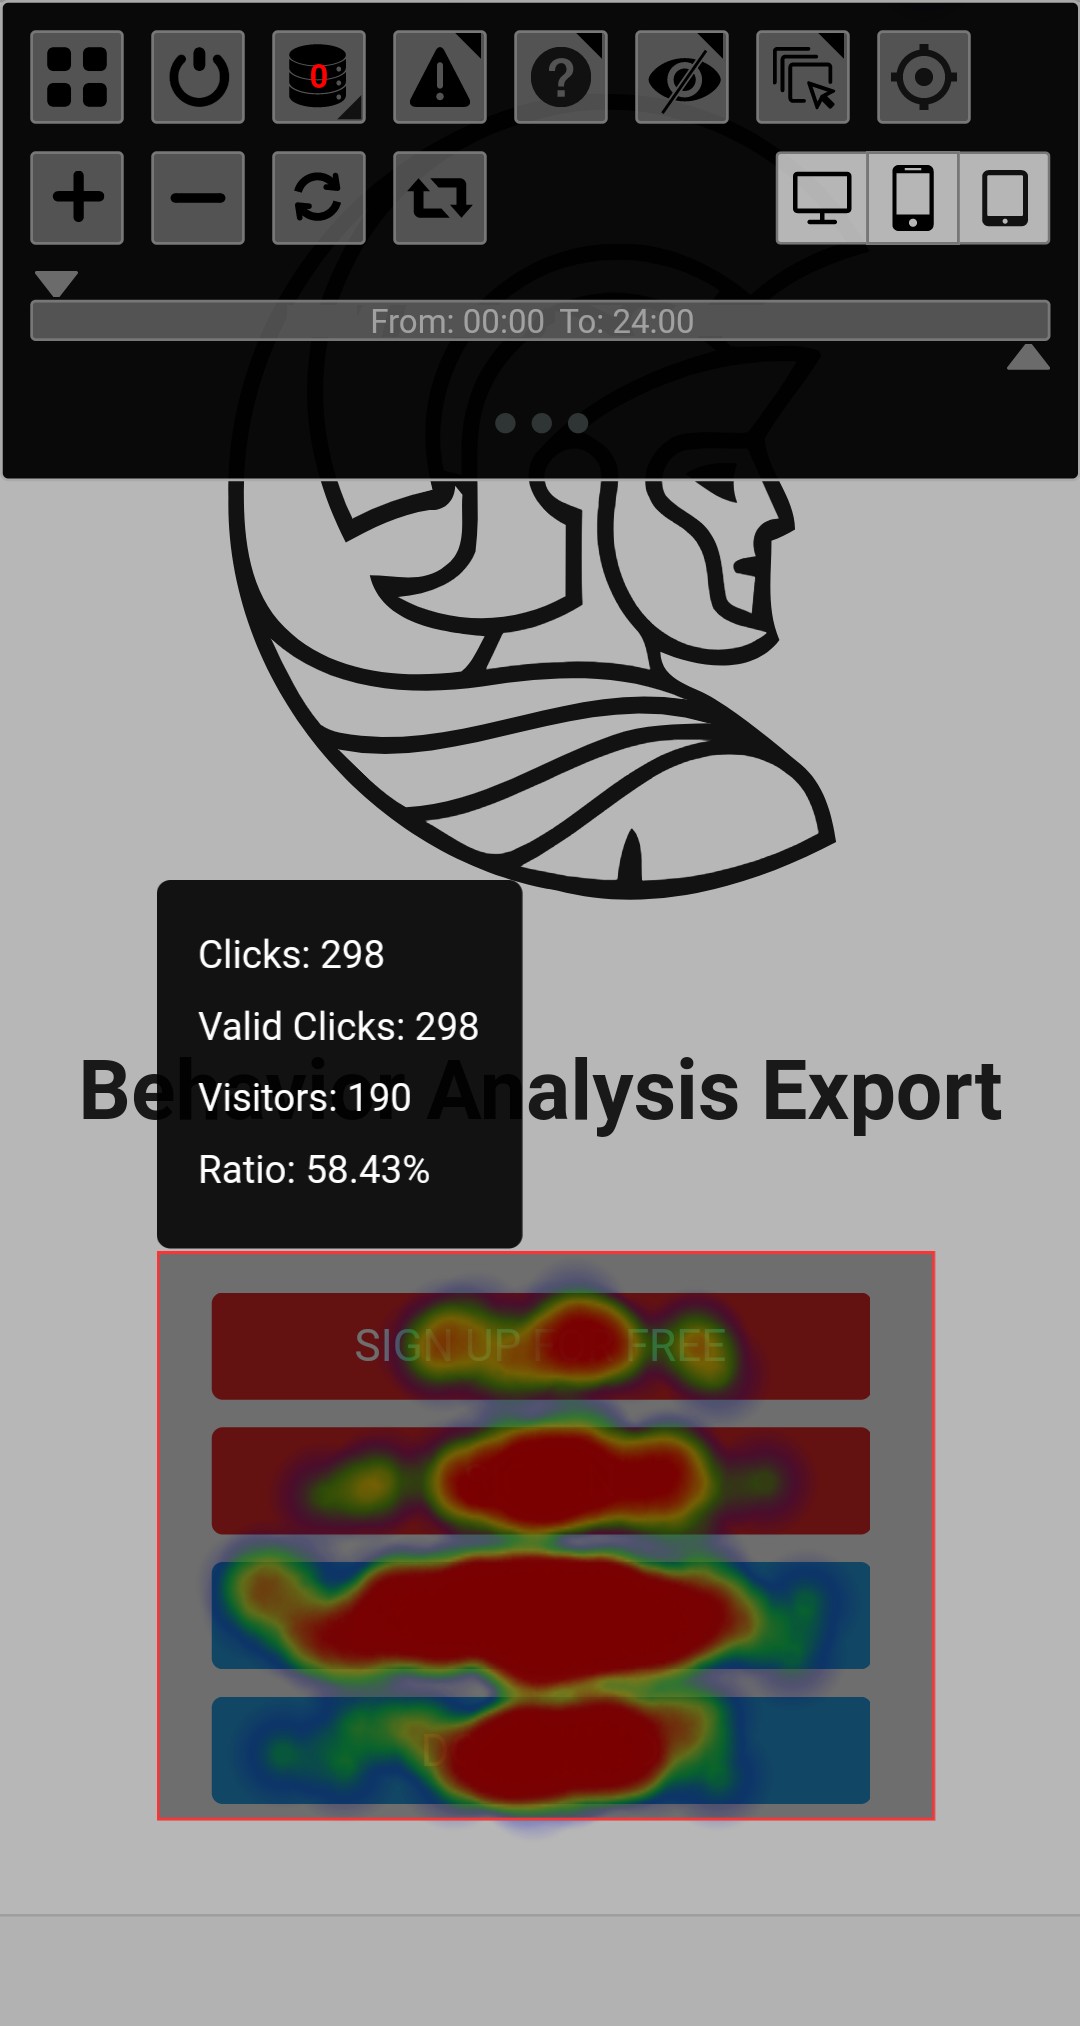
Layer View Mode